This will show you the best and most efficient order to apply your makeup. This has most of the makeup people wear. If you wear more or less makeup, you can follow the tutorial the same order it reads,and you can take away some steps, or add some steps. Hope you enjoy!
Cleanse&Moisturize- Use moisturizer on your entire face, or anywhere you will be applying makeup. Well you should clean your face every morning, Moisturizing your face helps protect your skin from and makeup.
Foundation- Put foundation on your entire face, or places where you have any uneven skin tones. Apply your foundation as a base for all your other makeup.
Concealer- Use your concealer under your eyes and on any blemishes, helps any uneven skin tone or blemishes that the foundation did not catch.
Powder- Apply a light (or heavy) coat of power. This is just to set any makeup you have already applied, or to give your make up a matte finish.
Contour, Highlight, and Blush- You can apply in any order you like. Contour under your cheekbones, on the sides (of the bridge) of your nose, and/or your temples towards the other contour under your cheekbones (if that makes sense), also you can put it at the start of your neck (right under the bottom bone of your face). Highlight your cheekbones, the bridge of your nose, and (if you want) on the top of your lip (like in the little triangle between both sides of your lip) and on the bottom of your lip opposite to the other highlight. And you can apply blush in the area of your cheek bones (where ever it fells comfortable). Contour helps define your face, and make it seem skinnier. Highlight, again makes your face seem skinner, and brings attention to different parts of your face. Blush brings color to your face, and makes it so you don’t look like a doll.
Eye Primer- Apply where ever you are going to apply eyeshadow (if any). This protects your skin from the product, and makes the shadow more pigmented.
Eye Shadow- Apply on your eyes (duh) in any type of look you like (tell us in the comments if you want us to do an article on eye shadow looks). This makes your eyes pop, and adds some color to your look.
Eye Liner- Apply on the base of your lid, in your tight line, water line, under your eyes , really wherever you like. This makes your eyes appear bigger, and brings the focus to your eyes.
Mascara- Apply this to your eyelashes (do as many coats as you like). This makes your eyes appear bigger, and darkens your eyelashes.
Eyebrow Powder, Gel, and Liner- Use any type of brow products, can apply it to your eyebrows. This helps define your brows, or gives them more color.
Lipstick, Gloss, Liner, Balm, Liquid lipstick- Use any lip product you like and apply it to your lips. This gives color to your face and lips, moisturizes your lips, and defines your lips.
Finishing Spray, Powder- Use either on your entire face, or where ever you applied makeup. This protects your makeup, and gives it a fishing look.
And your done! We hoped you enjoyed this, and found it helpful.
-Lid


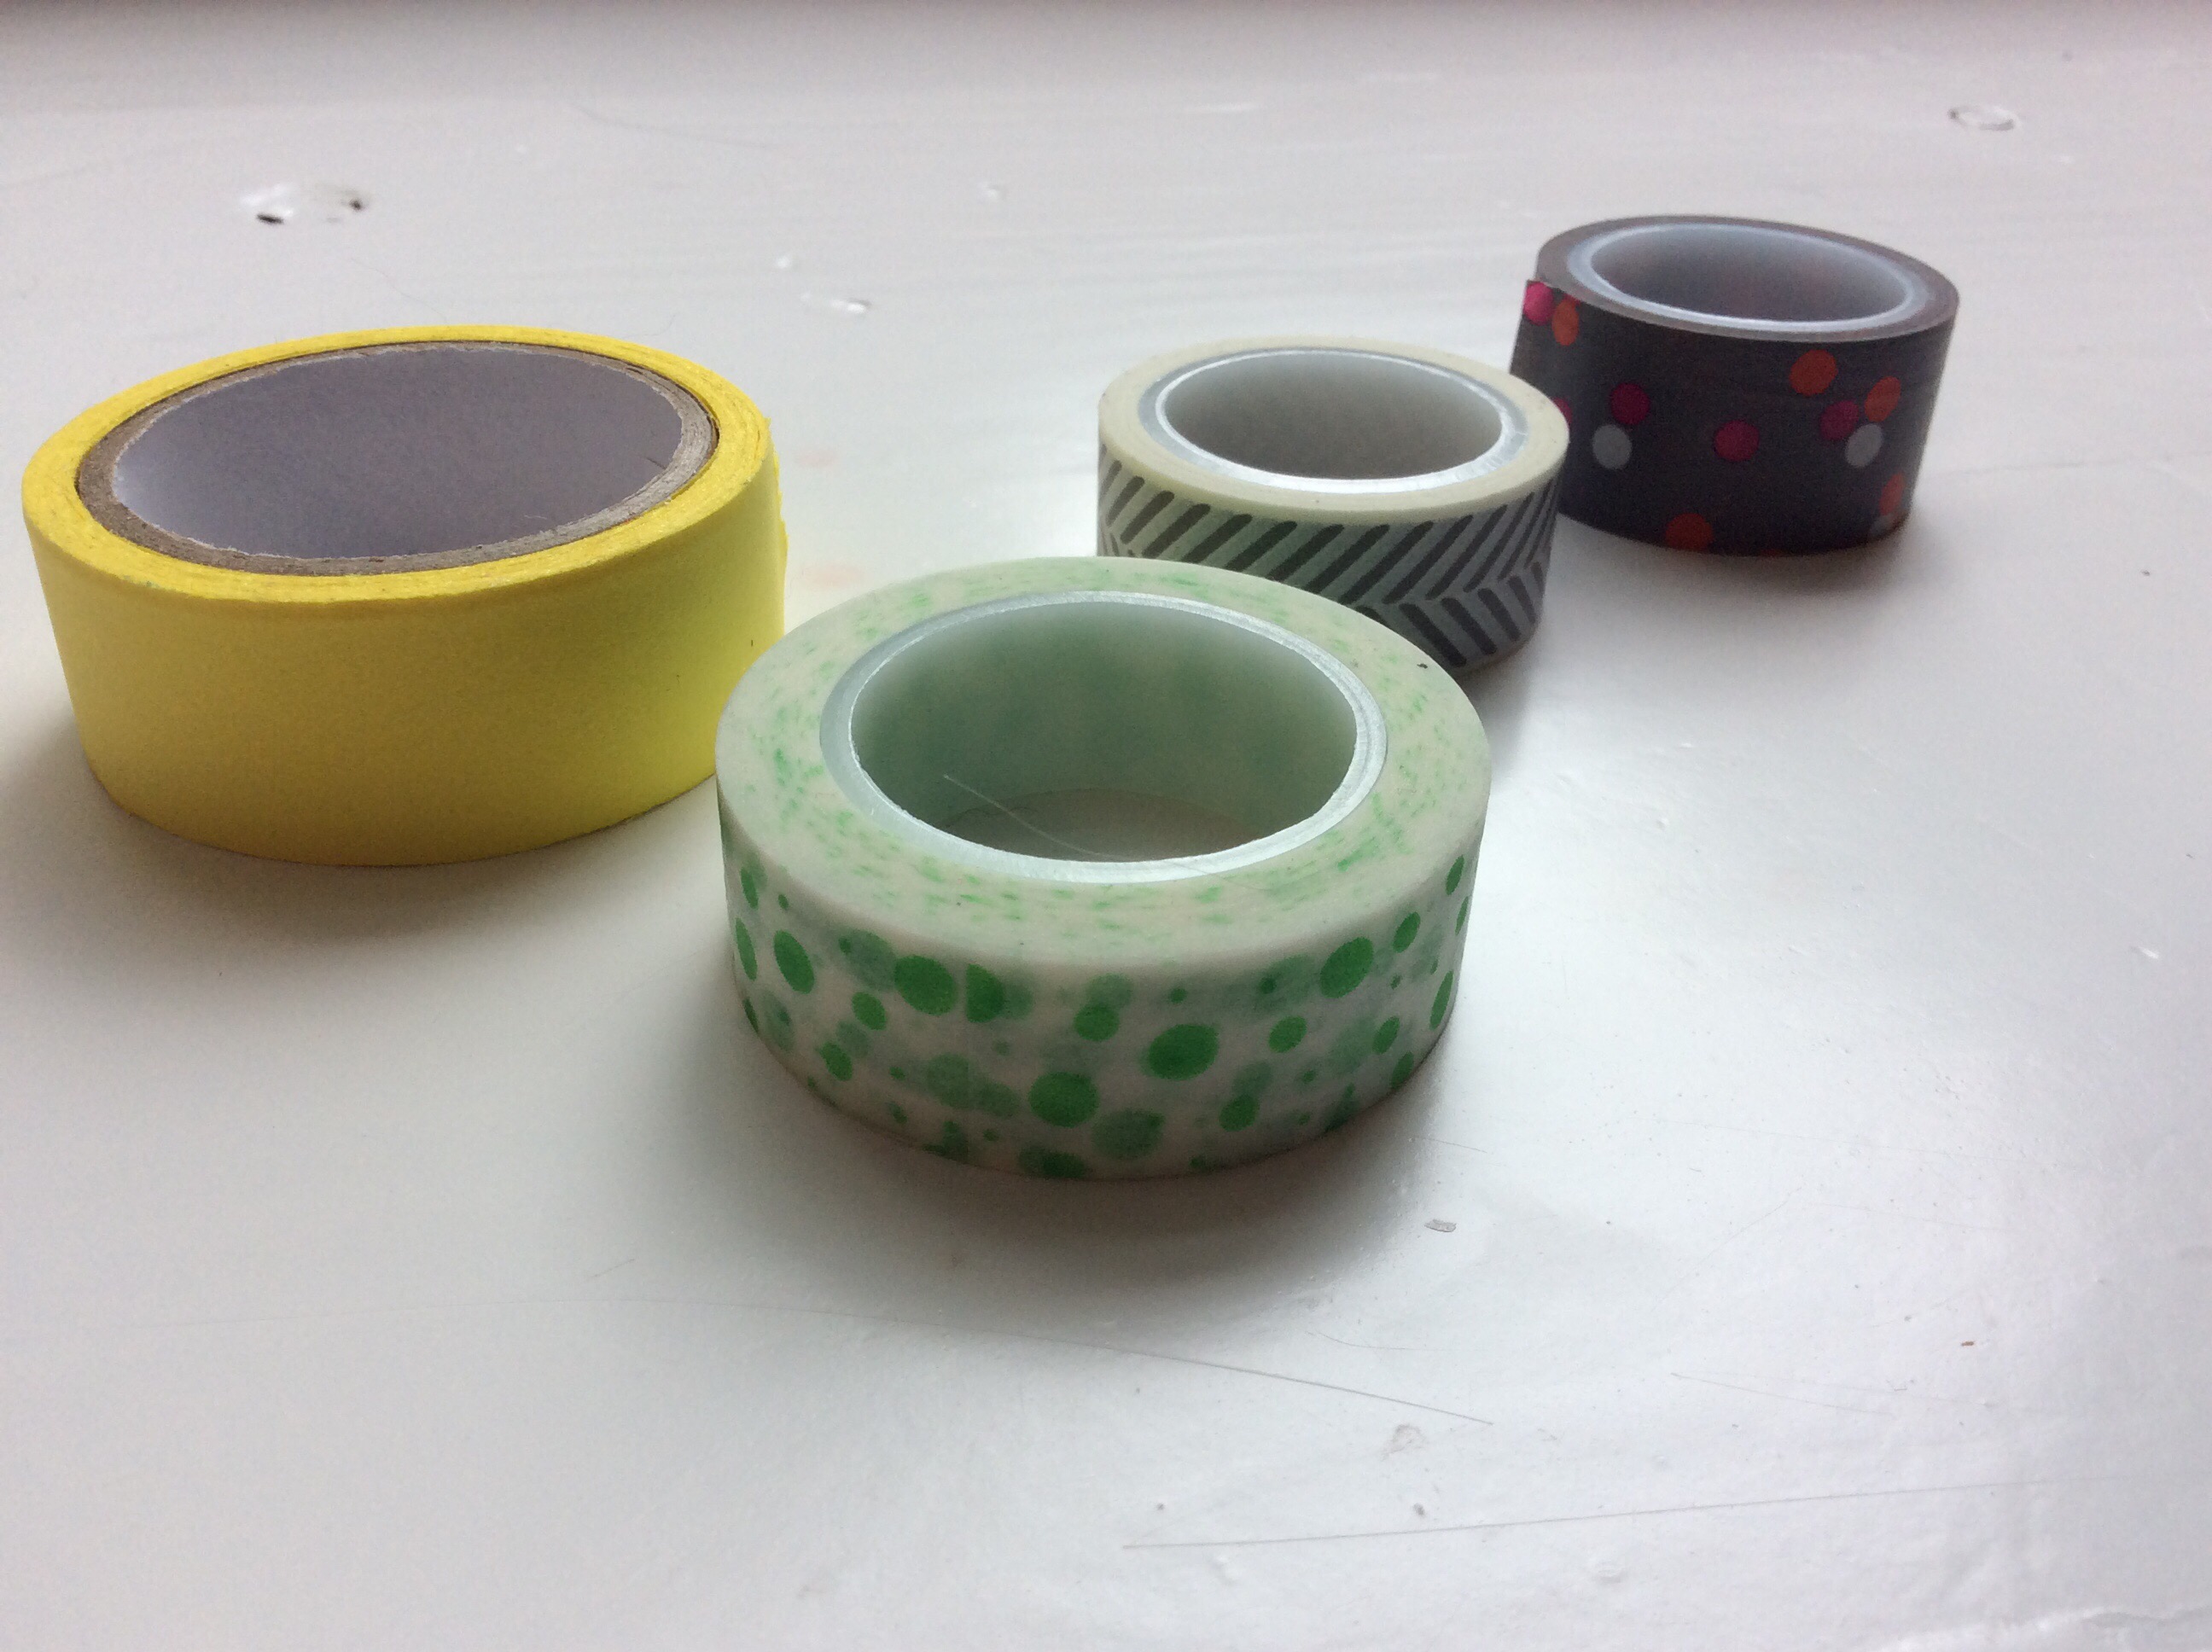
 Hey guys, Life: By J&L here. In this tutorial, we will teach you how to create your own DIY Geometric Canvas Painting.
 First:
 Second:
 Step 3:
 Step 4:
 Step 5:
 Step 6:
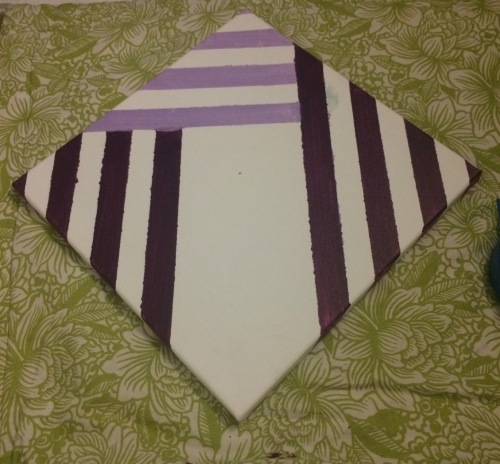 Step 7:
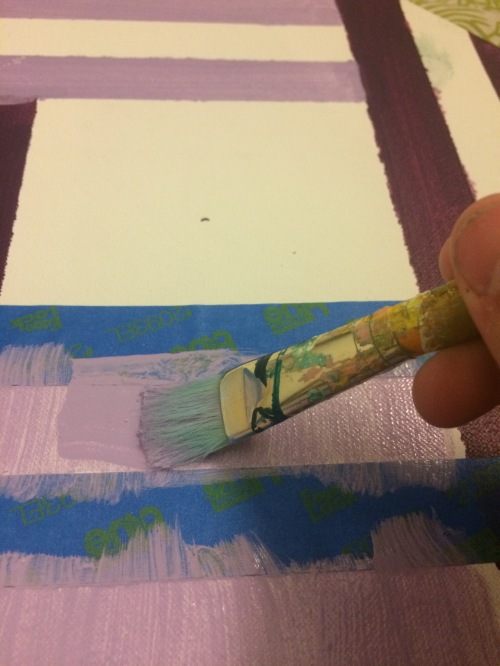 Step 8:
 Step 10:
 Step 11:
 Step 12:
 Lastly (step 13):